
Fencing Equipment 101: A DIY Guide
Fencing equipment plays a necessary role in creating a well-maintained garden fence. Your garden fence offers more than just a physical boundary for your property. It’s an essential component for privacy, security, and improving the overall aesthetic appeal of your outdoor space. Whether you aim to keep pets and children safe, define property lines, or boost your garden’s charm, a sturdy and well-built fence is key.
However, installing and maintaining a fence involves more than simply placing panels into the ground. Using the right tools, understanding the process, and keeping it in good condition can make all the difference between a beautiful fence and one that quickly deteriorates. The right equipment ensures that you complete each step of the installation process correctly. This attention to detail keeps the structure stable and secure.
But it’s not just about the tools. Installing a fence requires careful planning, selecting appropriate materials, and understanding your landscape’s unique challenges. Different terrain types, such as sloping grounds or rocky soils, present their own difficulties. Without the right preparation and equipment, installing a fence on such terrain can be challenging. Additionally, choosing materials—from traditional wood to modern composite panels—can be overwhelming. A well-built fence adds practical value by providing security and privacy. It also creates a charming backdrop for your garden.
In this DIY guide, we will cover all you need to know to get your fence installation project off the ground. We’ll walk you through the necessary fencing equipment for the job. And, we’ll also provide you with step-by-step installation instructions and offer maintenance tips so your fence withstands the test of time. By the end, you’ll feel confident in your ability to install and care for your garden fence. This will ensure it stays as functional and attractive as the day you built it.
Tools You Need for Fence Installation
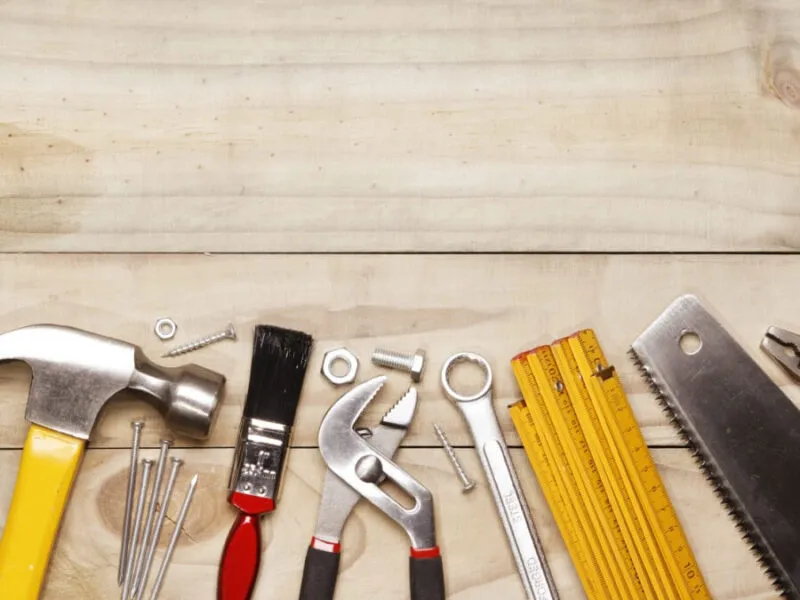
Having the right tools on hand is crucial when installing a garden fence. Without them, the installation process can be unnecessarily challenging, resulting in poor stability or an uneven finish. Here, we’ll discuss the essential tools required for installing a garden fence effectively.
- Post-Hole Digger: A post-hole digger is essential for making deep, precise holes for the fence posts, which is important for stability. The deeper the posts, the sturdier your fence will be, particularly if you live in an area with high winds.
- Spirit Level: To ensure your fence posts are straight, you’ll need a spirit level. A leaning fence not only looks unattractive but can also weaken over time.
- Fence Post Spikes and Shoes: Fence post spikes provide a stable foundation for your fence posts and can be an easier alternative to digging deep holes. They’re ideal for soft or uneven ground where more stability is required.
- Sledgehammer or Post Driver: To drive the fence post spikes or posts firmly into the ground, you will need a heavy-duty sledgehammer or a post driver. Using these tools ensures that the posts are secure and well-anchored, which is particularly important in soft soil.
- Saw: You may need a saw to cut the fence panels or posts to the correct size. It’s particularly helpful if you’re installing a fence on uneven terrain and need to adjust the height of each panel accordingly.
- Screws or Nails: Choose high-quality, rust-resistant screws or nails to attach the panels to the posts. Galvanised nails are particularly resistant to rust, which helps the fence last longer.
- Cordless Drill: A cordless drill is used to drive screws into the panels and posts. It’s much easier and faster than using a manual screwdriver, especially when dealing with multiple panels.
For an extensive range of fencing tools, you can browse our Fencing Equipment, which includes everything you’ll need to complete your fencing project.
Choosing the Right Fence Post Spikes and Shoes
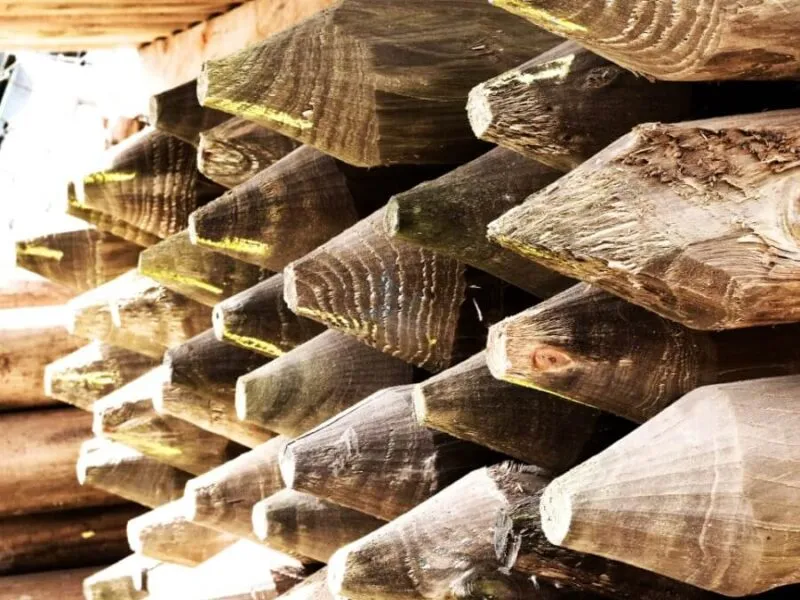
Selecting the right type of fence post spikes and shoes is essential to ensuring the stability of your garden fence, especially if the terrain is uneven or prone to waterlogging. Fence post spikes are generally used to support wooden posts, keeping them anchored in soft or muddy ground, while shoes provide extra support at the base of each post to help maintain alignment.
- Spikes for Soft Soil: If you’re installing a fence in soft or sandy soil, spikes are ideal because they can be driven deeply into the ground, giving the fence more stability. This is particularly helpful in areas that receive a lot of rainfall or where the ground tends to shift.
- Shoes for Solid Ground: For harder terrain, fence post shoes may be a better option. Shoes are fixed to a solid base, such as concrete, and offer excellent support for fences installed on a patio or driveway.
When choosing fence post spikes or shoes, it’s important to consider the type of terrain and the height of your fence. For taller fences, using more robust spikes or shoes will provide the support necessary to withstand stronger winds and other weather elements. For an assortment of options, visit our range of Fence Post Spikes and Shoes.
Step-by-Step Installation Guide
Now that you have your tools ready, it’s time to begin installing your garden fence. A well-installed fence not only provides security and privacy but also improves the aesthetic appeal of your garden.
- Mark Your Boundary: Start by marking the boundary where you want to install the fence. Use a measuring tape to ensure that the boundary is straight, and mark with string or stakes to visualise the fence line.
- Dig Post Holes: Using your post hole digger, dig holes for each fence post. The depth should be approximately one-third of the post’s length, ensuring the post is stable once buried.
- Insert Fence Posts: Place the fence posts into the holes, ensuring they are level and straight using a spirit level. This is crucial to prevent a leaning fence, which not only looks unsightly but may also weaken over time.
- Secure the Posts: For extra stability, use concrete to secure each fence post to the ground. Alternatively, use fence post spikes to anchor posts securely without the need for digging.
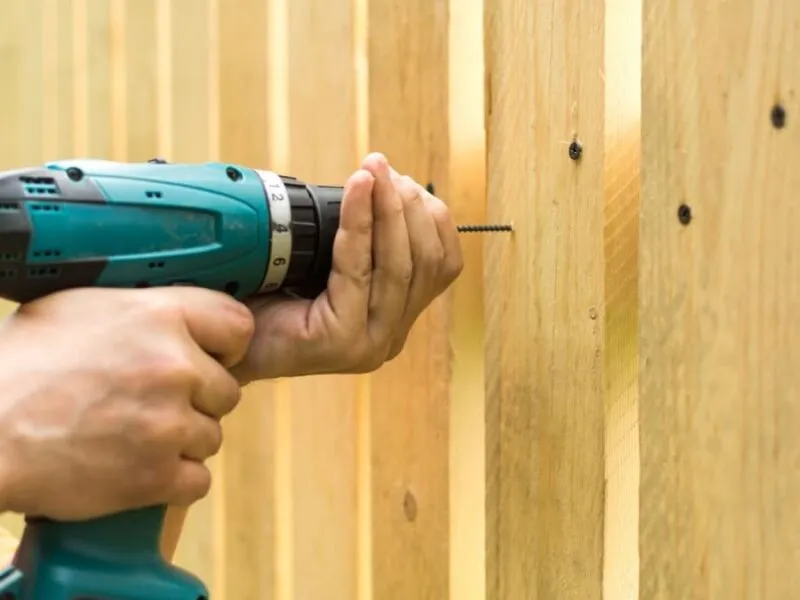
- Attach Fence Panels: Once the posts are set and the concrete has dried (usually after 24 hours), you can begin attaching the fence panels to the posts. Use galvanised nails or screws and a cordless drill to ensure a secure fit.
- Secure with Post Spikes or Shoes: If the fence is being installed on soft or uneven ground, fence post spikes can help to keep it sturdy. Make sure to drive the spikes evenly using a post driver to prevent wobbling.
- Check Alignment: After installing all the panels, take a step back to check the alignment of your fence. Make adjustments if necessary to ensure a straight, level finish.
Add Post Caps: Adding post caps not only improves the appearance of your fence but also helps to protect the posts from weather damage by preventing water ingress.
Maintenance Tips for Long-lasting Fences
Maintaining your garden fence is crucial to ensuring that it remains sturdy, attractive, and functional for many years. Here are some essential tips to help prolong the life of your fence:
- Regular Cleaning: Over time, dirt, moss, and algae can build up on your fence, especially during wet weather. Cleaning your fence with a stiff brush and a gentle cleaning solution once a year will help prevent damage and keep it looking fresh.
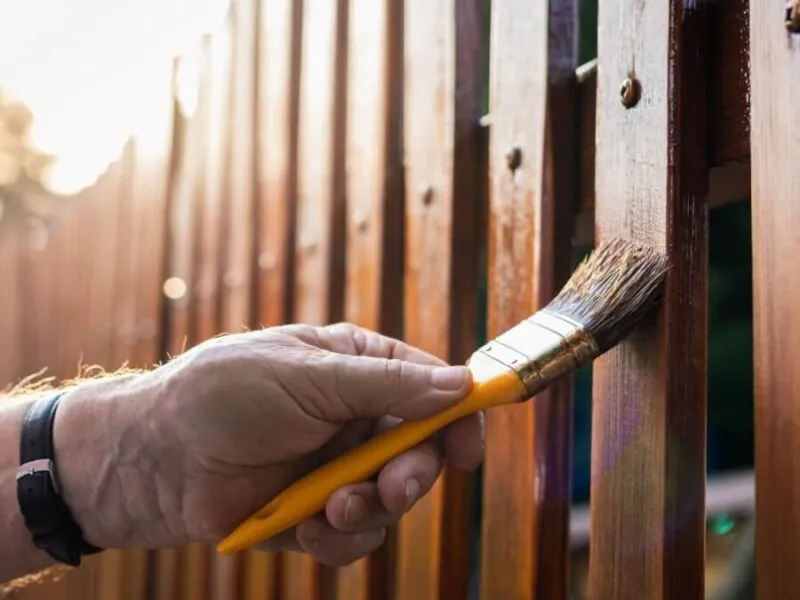
- Treat with Preservative: Wooden fences are particularly vulnerable to moisture and rot. Applying a wood preservative every two to three years helps protect the timber from water damage and insect infestations, keeping your fence in good condition.
- Inspect for Damage: Regularly inspect your fence for signs of rot, insect damage, or structural issues, such as leaning posts or loose panels. Promptly addressing these issues will help prevent further deterioration and extend the lifespan of your fence.
- Reapply Stain or Paint: If your fence is painted or stained, reapplying a fresh coat every few years not only enhances its appearance but also provides additional protection against the elements.
- Check Posts and Spikes: Ensure that your fence posts remain stable by checking that spikes or shoes are securely fastened. Loose posts can make the entire fence unstable, so tighten screws or secure spikes as needed.
By following these maintenance tips, you can ensure that your fence remains an attractive and effective boundary for your garden for years to come.
Conclusion
Installing and maintaining a garden fence may seem like a daunting task, but with the right tools, preparation, and care, it can be a rewarding DIY project that significantly improves your outdoor space. From choosing the best materials to understanding the right techniques for installation, this guide has equipped you with everything you need to know to build a strong, attractive, and long-lasting fence. Remember to take your time with each step, and don’t hesitate to consult professionals or your local guidelines for additional advice.
For all your fencing needs, from tools to maintenance products, visit our Fencing Equipment section. There, you’ll find everything you need to create and care for your garden fence, ensuring it remains a valuable addition to your home.
FAQ Section
How deep should I install fence posts?
Fence posts should typically be buried at least one-third of their length for stability. However, this can vary based on the height of the fence and soil conditions.
What tools are essential for fence installation?
Key tools include a post-hole digger, level, saw, and drill. You’ll also need screws or nails and fence post spikes for securing the posts.
Can I install a fence on uneven ground?
Yes, but you’ll need to adjust the length of the posts and possibly step the fence panels to accommodate the uneven terrain.
How often should I maintain my garden fence?
Regular maintenance, such as cleaning and applying treatments, should be done once a year. Check for signs of rot, damage, or rust more frequently.
Do I need planning permission to install a garden fence?
In most areas, fences below a certain height (usually 2 metres) don’t require planning permission, but it’s always best to check local regulations.

Path & Patio is a UK supplier of paving and landscaping products, sharing practical guidance, product expertise and installation advice for patios, paths and driveway projects.