
How to Concrete in Fence Posts Securely and at the Right Depth
Fence posts usually fail because of what happens below ground. Panels may be the most visible part of a fence, but post depth, hole size, ground stability, drainage, concrete support and alignment decide whether the fence stays upright. A shallow post in weak ground can lean, twist or loosen even if the panels are new.
Concreting a fence post is a practical DIY job when the fence is a standard domestic height, the site is straightforward, and the fixing method is clear. It becomes more complicated where the fence is tall, exposed to wind, close to a highway, near buildings or services, or where previous posts have failed because the ground is soft, waterlogged or unstable.
For post hole tools, post supports, fixing equipment and fencing installation products, use Fencing Equipment. Choose the fixing method after checking the fence height, post type, ground condition and whether digging is suitable.
Quick Answer: How Deep Should Fence Posts Be?
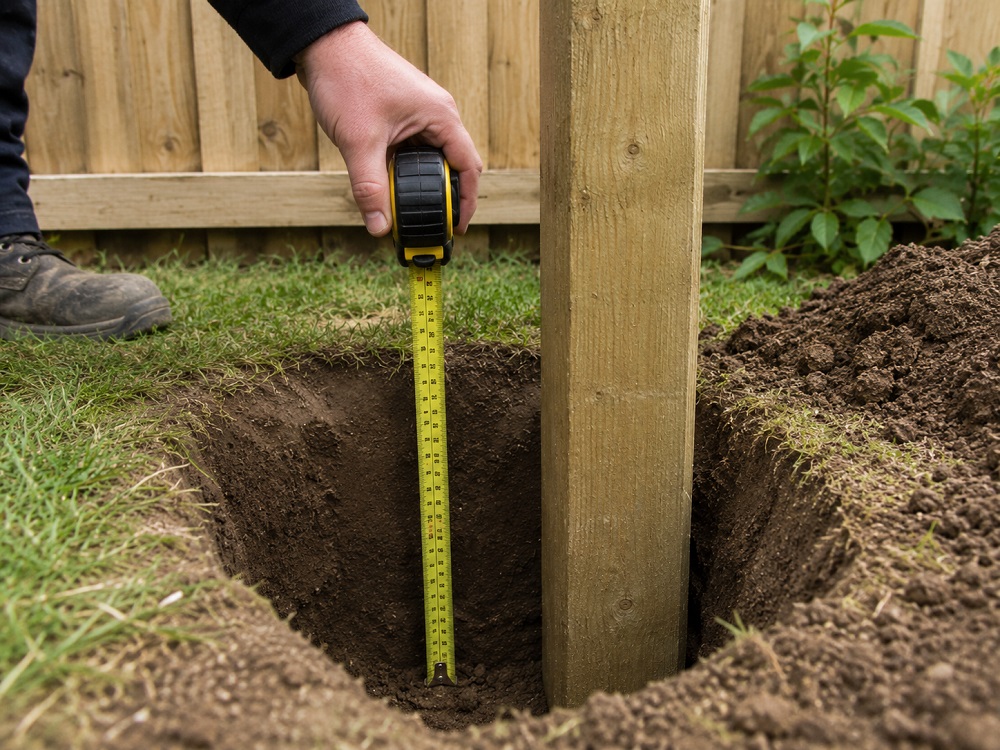
- Safest default: check the fence line, height, ground condition and any likely service routes before digging.
- As a common rule of thumb, around one third of the post length should be below ground, adjusted for height, exposure and ground conditions.
- For a typical 1.8m garden fence, a post hole around 600mm deep is often used as a practical starting point.
- The hole should be wide enough to allow concrete around the post, not just a tight slot in the soil.
- Keep the post upright, braced and aligned while the concrete sets.
- Stop and get help if you suspect nearby services, unstable ground, boundary uncertainty, or a fence height/location that may need permission.
What This Guide Does Not Solve
This guide does not resolve boundary disputes, ownership questions, neighbour agreements or planning enforcement issues. Before installing or replacing a fence, check where the boundary is and whether you have the right to carry out the work.
It also does not cover retaining walls, engineered structures, large security fencing or high exposed fence runs that need structural design. A domestic garden fence post and a load-bearing retaining boundary are not the same job.
Finally, this guide does not assume every post should be concreted. In some settings, post spikes, post shoes, repair spikes or bolt-down supports may be more suitable, especially where digging is not practical or where the post is being fixed to an existing hard surface.
When to Pause or Escalate
Pause before digging if the post hole is near the house, garage, external lighting, water pipes, drainage, an outbuilding, a driveway, or any area where services may run. In most simple garden fence replacements, this is a practical safety check rather than a major excavation process. The HSE guidance on avoiding danger from underground services is a useful reference where service routes may be present.
Pause before installing a fence if the height or location may need planning permission. The Planning Portal guidance for fences, gates and garden walls explains the common one metre limit next to a highway used by vehicles and the two metre limit elsewhere, subject to site circumstances.
Escalate to a professional if the fence is tall, exposed to strong wind, next to a highway, close to retaining structures, near likely service routes, or if the old posts failed because the ground is soft, waterlogged or unstable. In these cases, a deeper hole alone may not solve the problem.
Why Fence Posts Fail Below Ground
The post is carrying wind load
A fence panel acts like a sail in strong wind. The post must resist sideways load from the panel, the rails and the wind. If the below-ground section is too shallow or the concrete support is weak, the post can rock in the hole and the fence line can lean.
Water weakens the installation
Water sitting around the post can soften soil, accelerate timber decay and undermine the concrete pocket. Good installation should avoid creating a bowl where water sits against timber for long periods.
Shallow holes make movement more likely
Shallow holes are one of the most common reasons fence posts loosen. The post needs enough below-ground depth to resist movement. The taller and more exposed the fence, the more important this becomes.
Poor alignment causes pressure through the whole run
If one post is out of line, the panels and rails can pull or twist against it. A straight fence line depends on accurate setting-out, level checking and bracing while the concrete cures.
Fence Post Depth and Hole Preparation
Use the one-third rule as a starting point
A common practical rule is to set roughly one third of the post length below ground. For a 2.4m post used with a 1.8m panel, this often means around 600mm below ground. Treat this as a starting point, not a guarantee. Ground conditions, post type, exposure and fence height all matter.
Make the hole wide enough
The hole should allow concrete to surround the post properly. A hole that is too narrow may not provide enough support. A practical approach is to make the hole several times wider than the post, with enough room to position and brace it accurately.
Consider drainage at the base
For timber posts, standing water is a long-term problem. Some installations use compacted gravel at the base to support drainage, while others rely on the post and concrete detail to shed water away. The key principle is the same: avoid trapping water against the timber.
Use the right post for the job
Treated timber posts, concrete posts and metal supports behave differently. Timber posts need attention to treatment, end grain and water exposure. Concrete posts are heavy and durable but require careful handling. Post shoes and spikes can be useful in some situations but are not a universal replacement for properly set posts.
Step-by-Step: How to Concrete in a Fence Post
Step 1: Check the fence line, height and site conditions
Before digging, confirm the fence line, check whether planning restrictions apply and consider whether any services may run near the post hole. Do not assume the site is clear just because it looks straightforward.
Step 2: Mark the post line
Use a string line to mark the fence run. Set out post positions based on panel width, rail layout and gate positions. Check corners, returns and end posts carefully because mistakes here affect the whole run.
Step 3: Dig the hole
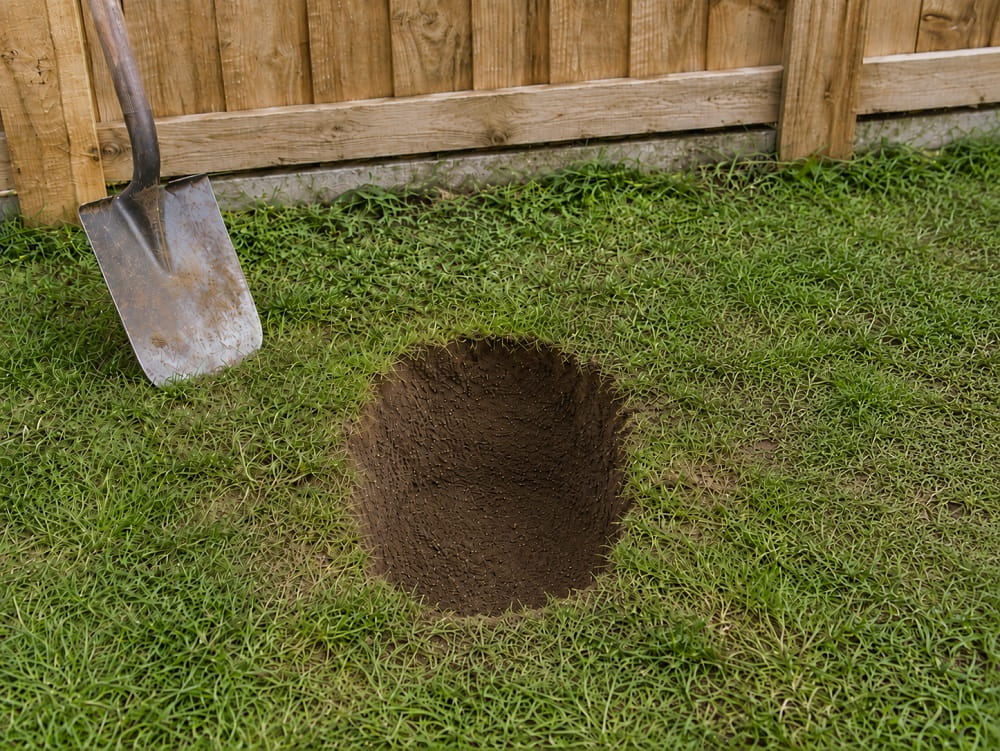
Dig the hole to the required depth and width. Keep the sides as neat as practical and remove loose material from the bottom. If the ground collapses easily, widens unexpectedly or fills with water, pause and reassess.
Step 4: Prepare the post
Check the post length, treatment condition and orientation. If using timber, avoid cutting below-ground sections unless the cut end can be properly treated. Check the post is straight enough before setting it.
Step 5: Position and brace
Place the post in the hole and check height, level and alignment. Brace it before adding concrete. Use a spirit level on two faces and keep checking against the string line.
Step 6: Add concrete or post-fixing mix
Add the chosen concrete or post-fixing mix according to the product instructions. Do not guess water quantities if using a bagged product. Work the material around the post so there are no large voids.
Step 7: Shape the top surface
Finish the top of the concrete so water sheds away from the post rather than sitting in a hollow. This is particularly important for timber posts.
Step 8: Re-check alignment before it sets
Check the post is plumb, straight and aligned while the mix is still workable. Small errors become difficult to correct once the concrete starts to set.
Step 9: Allow curing time
Keep the post braced and avoid loading it too early. Do not fit heavy panels or tensioned rails before the fixing material has gained enough strength according to the product guidance.
Concrete, Spikes or Post Shoes?
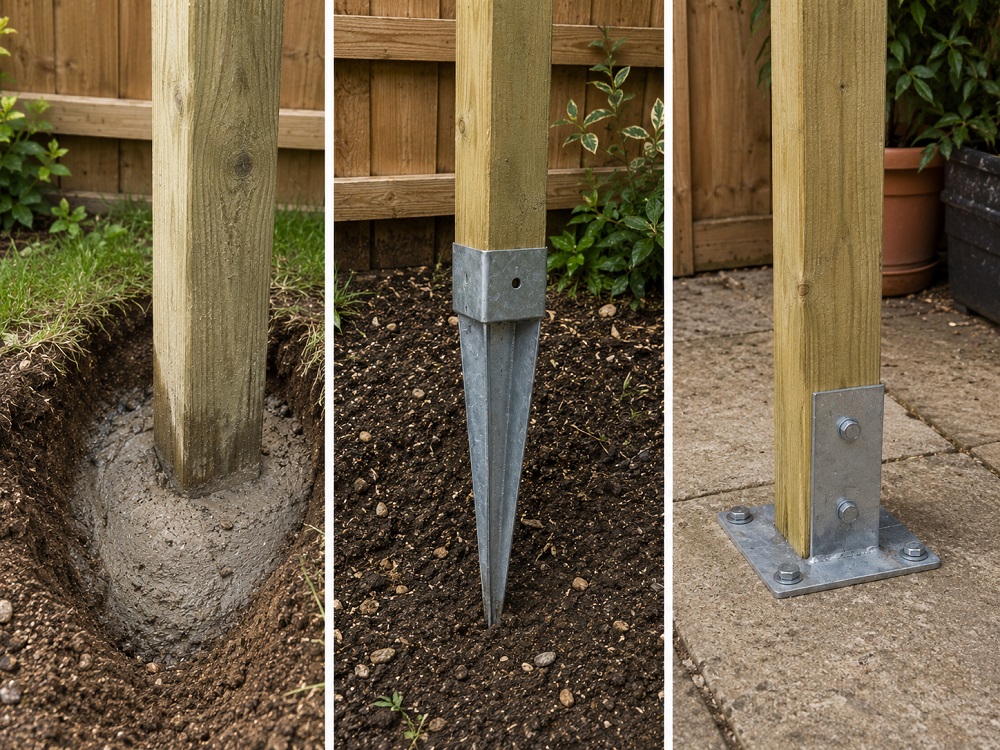
Concrete-in posts
Concrete-in installation is commonly used for new fence runs in soil where posts need firm below-ground support. It is suitable when digging is safe, the ground is stable and the post depth is adequate.
Drive-in post spikes
Drive-in post spikes can reduce digging, but they need suitable ground and careful alignment. They are less useful in stony, very soft or obstructed ground.
Bolt-down post shoes
Bolt-down post shoes are used where posts are fixed to suitable hard surfaces. They depend on the strength of the base and the fixings, not just the shoe itself.
Repair spikes and post supports
Repair spikes and post supports can help with some replacement or reinforcement jobs. They are not a substitute for addressing rotten timber, failed foundations or unstable ground.
For alternative fixing methods, use Fence Post Spikes and Shoes. Choose the fixing type based on post size, ground condition, surface type and the level of support needed.
Common Mistakes
Digging too shallow
A shallow post may stand upright at first, but it can loosen once panels are fitted and the wind load increases. Depth matters more than many DIY installers expect.
Skipping practical site checks
Before digging, check the fence line, nearby structures, ground conditions and any obvious service routes. This is usually quick on a simple domestic job but important where the post line is close to buildings, drives or outbuildings.
Fitting panels before the post is ready
Loading the post too early can pull it out of alignment. Let the fixing material cure properly before adding significant weight or wind load.
Leaving water to sit around timber
A flat or hollow concrete top can hold water against a timber post. Shape the finish so water drains away.
Assuming one fixing method suits every site
Concrete, spikes and shoes each have their place. The right option depends on ground, post size, fence height, exposure and whether digging is practical.
Forgetting planning limits
Fence height and location can trigger planning issues, especially near highways. Check before installing, not after the fence is built.
Maintenance and Prevention
Check fence posts after storms, heavy rain and seasonal ground movement. Look for leaning, rocking, cracking around the base, panel movement, rusting fixings and water collecting near the posts.
Keep soil, compost and mulch from building up around timber posts. Extra material against the post can hold moisture and hide early signs of decay. If timber posts are used, inspect the groundline regularly because this is where many failures start.
For exposed fence runs, check fixings, rails and panels as well as the posts. A post may fail because the panel loads are too high, the rails have loosened, or wind cannot pass through the fence structure.
Your Next Step: DIY or Professional
DIY post installation is usually suitable when the fence is a standard domestic height, the ground is stable, the boundary is clear, the site checks are straightforward, and the fixing method is simple.
Professional help is the safer route where the fence is tall, exposed, close to a highway, near likely service routes, part of a retaining structure, or where previous posts have failed repeatedly. It is also sensible where the ground is waterlogged, very soft, full of rubble or difficult to dig safely.
Choose the fixing method by matching the post type, post size, ground condition and fence load. A secure fence starts below ground, not with the panel.
Summary
Fence posts fail below ground when the hole is too shallow, the ground is unstable, water sits around timber, the concrete support is poor, or the fixing method does not match the fence load. A strong post installation starts with practical site checks, correct depth, careful alignment and a fixing method that suits the site.
As a practical starting point, many domestic fence posts are set with roughly one-third of the post below ground, with around 600mm common for a 1.8m fence. Adjust for fence height, exposure, post material and ground conditions. Pause before digging if nearby services, planning restrictions or structural risks are uncertain.
Frequently Asked Questions
How deep should a fence post be in the ground?
A common rule of thumb is to set around one-third of the post length below ground. For many 1.8m domestic fences, around 600mm is a practical starting point, but ground conditions and exposure can change the requirement.
How wide should a fence post hole be?
The hole should be wide enough for concrete to surround the post properly and hold it stable. A tight slot in the ground usually does not provide enough support.
Should I put gravel under a fence post?
Gravel can help with drainage in some timber-post installations, but the main principle is to avoid trapping water against the post. Follow the fixing product guidance and consider the ground conditions.
Can I concrete timber posts directly into the ground?
Yes, where the post is suitable, treated and correctly installed. The concrete should support the post and shed water away rather than hold water against the timber.
Are post spikes better than concrete?
Not always. Post spikes can be useful where ground conditions suit them, and digging is not ideal. Concrete is often better for a traditional below-ground post setting. Choose by site conditions, post size and fence load.
Do I need planning permission for a garden fence?
Not always, but height and location matter. Fences near highways and fences above common height limits may need permission. Check the Planning Portal and local circumstances before installation.
What should I do if the ground collapses or fills with water while digging?
Pause and reassess the fixing method. Collapsing or waterlogged ground may need a wider hole, a different post support method, better drainage or professional help.
Why do fence posts wobble after concreting?
Common causes include a shallow hole, loose ground, poor compaction around the post, concrete not fully supporting the post, early loading before curing, or movement caused by wind and panels.

Path & Patio is a UK supplier of paving and landscaping products, sharing practical guidance, product expertise and installation advice for patios, paths and driveway projects.